This is the first in my ‘Printing like a pro’ series, which aims to help you fill your house with images that you love, whether you’re printing through your photographer or traversing the printing world yourself.
Back in the day we’d take our roll of film in to be developed and get a nice pack full of 6x4” prints to take away with us. After a while they might get put into a photo album, or maybe even a frame, but a lot got stashed away to be flicked through on a rainy day. These days most of our photos sit on a hard drive or phone and never get printed at all which I have to admit, breaks my heart a little bit!
The world of printing is full of trips and hurdles that often result in us getting images with cut off heads, poor colouring, fading inks and so many options our heads start to explode. This blog is going to walk you through the first step of that, aspect ratios. Most of the time ‘ratios’ are something we leave back in secondary school maths, but printing your photos is one of those times where it actually comes in handy! But don’t worry, I’ve done the hard work for you. Here’s your foolproof guide to the most common options.
Aspect Ratio - 6x4
Almost all cameras take photos with a 6x4 ratio. This means if you want ALL of your image to be printed, you need to your print to be printed at this ratio, which includes print sizes like 3x2”, 6x4”, 12x8” and 24x16”. If your photo is an extreme close up or has people right up to the edges you don’t want to cut off, I’d recommend going for one of these sizes. When you print your photo in any other print sizes some of the image has to be cropped off in order to ‘fit’, but with a 6x4 ratio print it can all be printed.
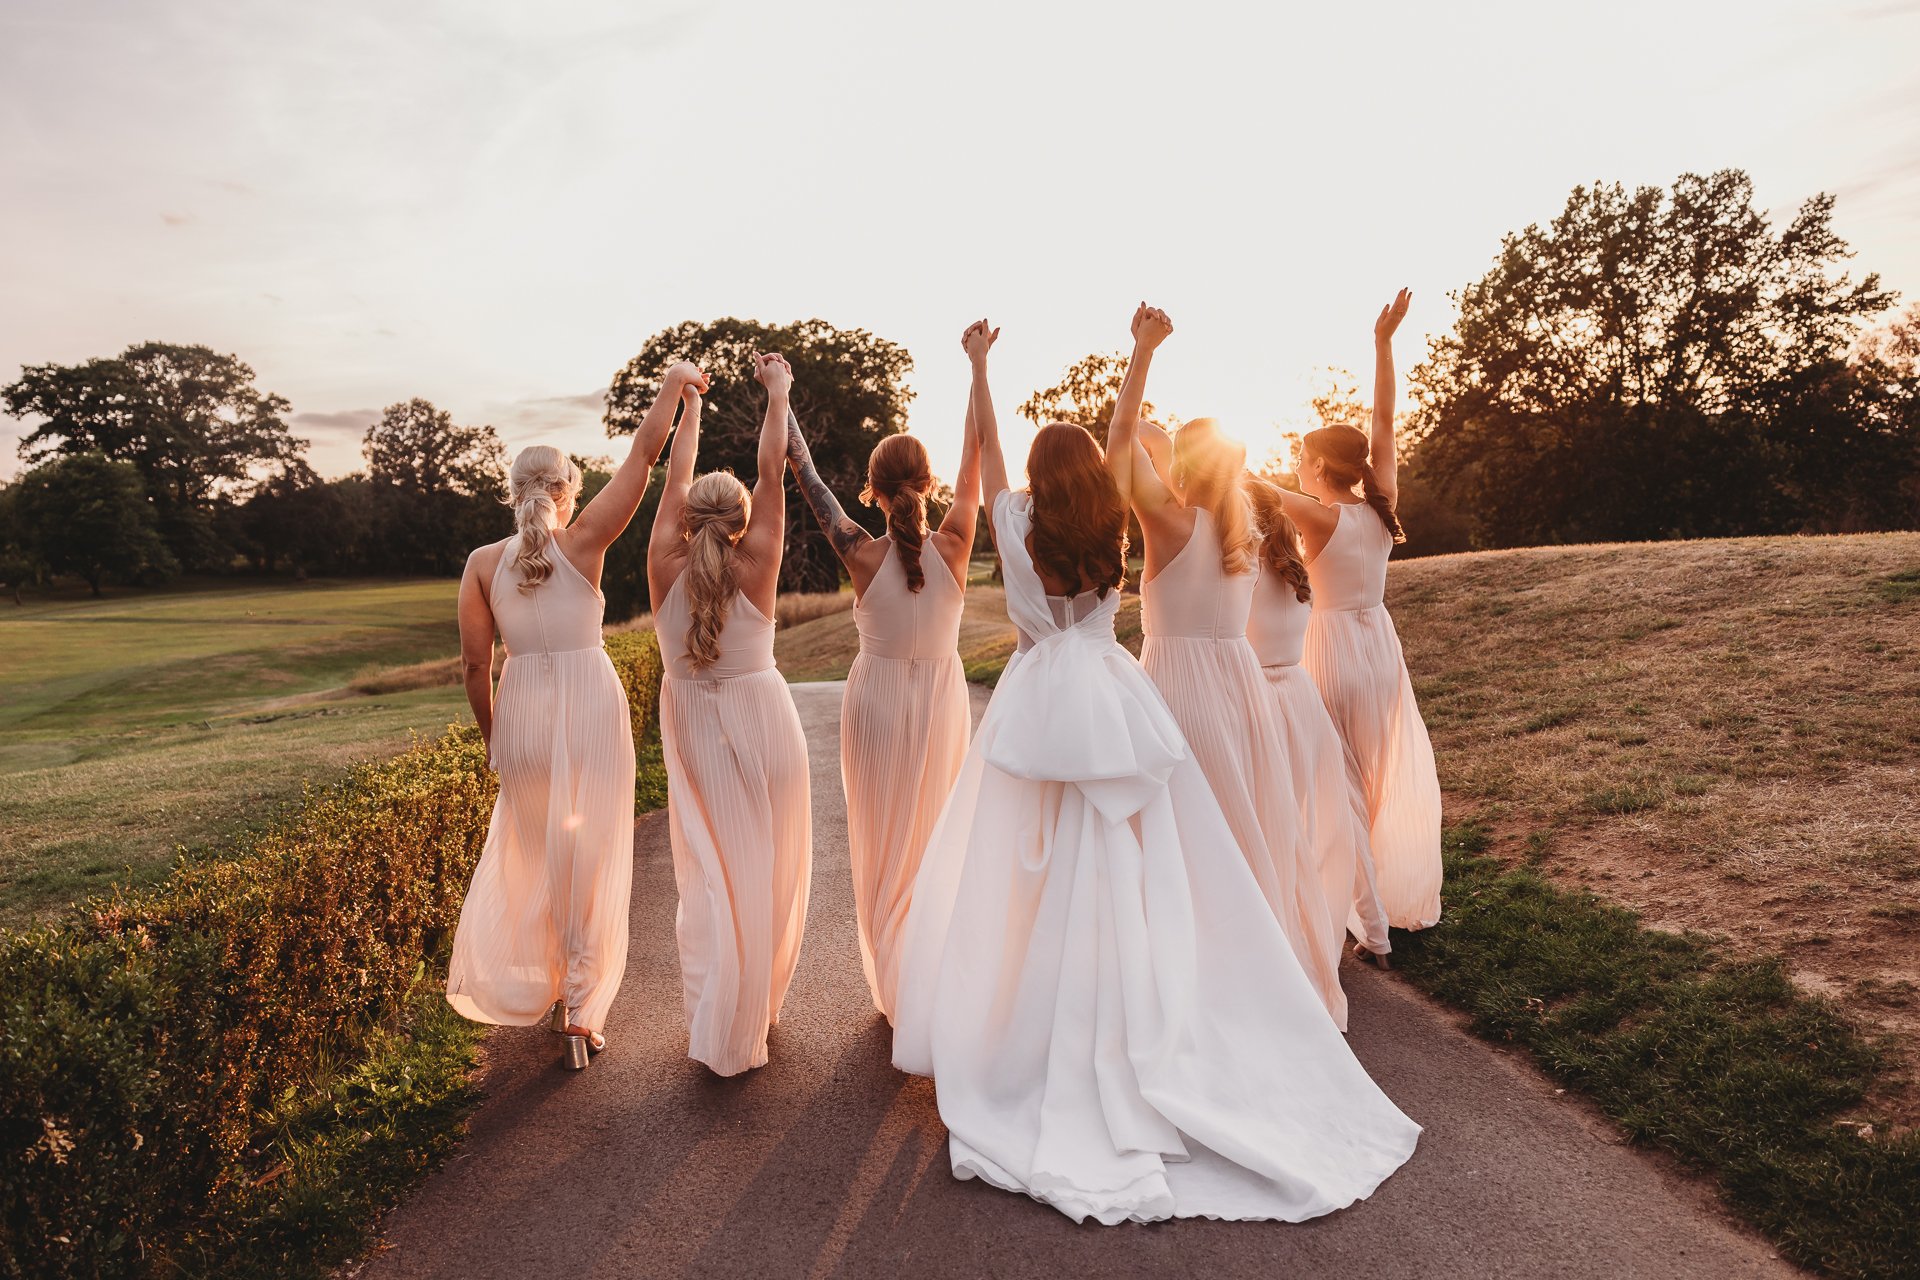
Here are some examples of images at their standard, 6x4 ratio. No cropping at all.